
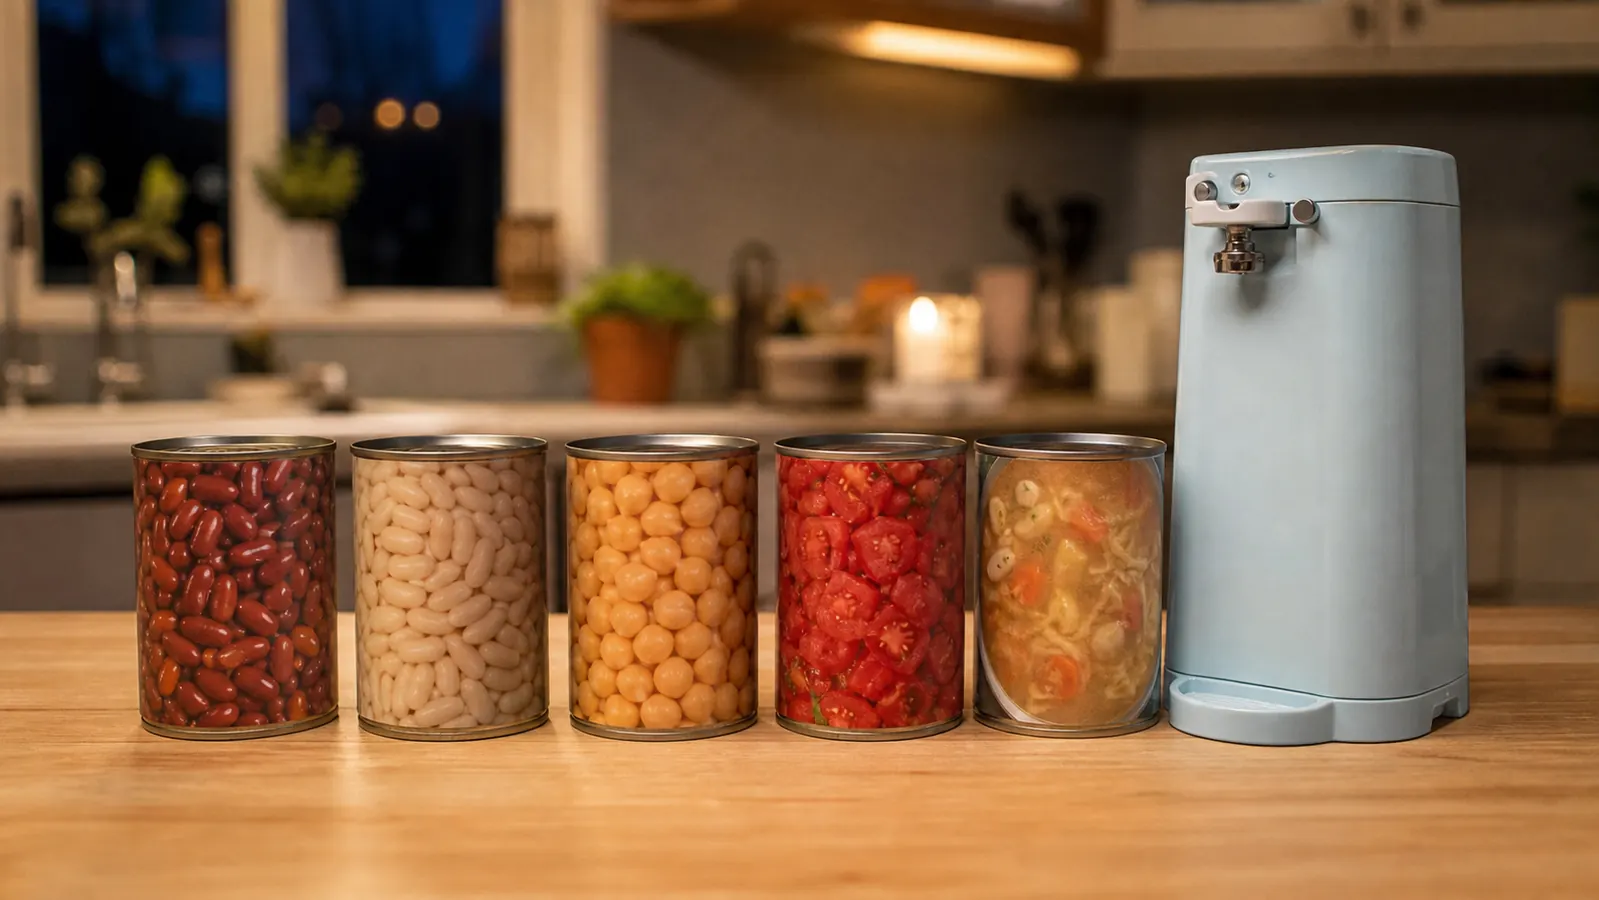
The slow part of opening a can was never really the can. It was the setup: finding the opener in the drawer, lining the wheel up on the rim, cranking it around while the handle dug into your palm, then wrestling the lid off without slicing a finger on the edge. Do that four or five times in a row on a chili night and you've burned five minutes standing at the counter doing nothing but fighting a tool that should take no thought at all.
I went through that exact routine for years before I changed how I open cans, and the fix wasn't really about strength or technique. It was about switching to a hands-free automatic opener, the Kitchen Mama electric can opener specifically, and then building a short sequence around it so the tool does the work while I keep moving on the rest of dinner. Below is that sequence, step by step, written for someone who's never used an automatic opener before and wants to get fast at it without watching a video ten times.
This isn't a guide for someone who opens one can of soup a month. If that's your kitchen, a two-dollar manual opener and a spare thirty seconds will always be the simpler answer, and you can stop reading here. This is for the weeknights where canned beans, broth, and tomatoes are doing real work in the recipe, where you're opening three, four, five cans back to back while something else is already on the stove, and where every minute spent wrestling a crank handle is a minute you don't have.
Skip the crank entirely and clamp it on instead
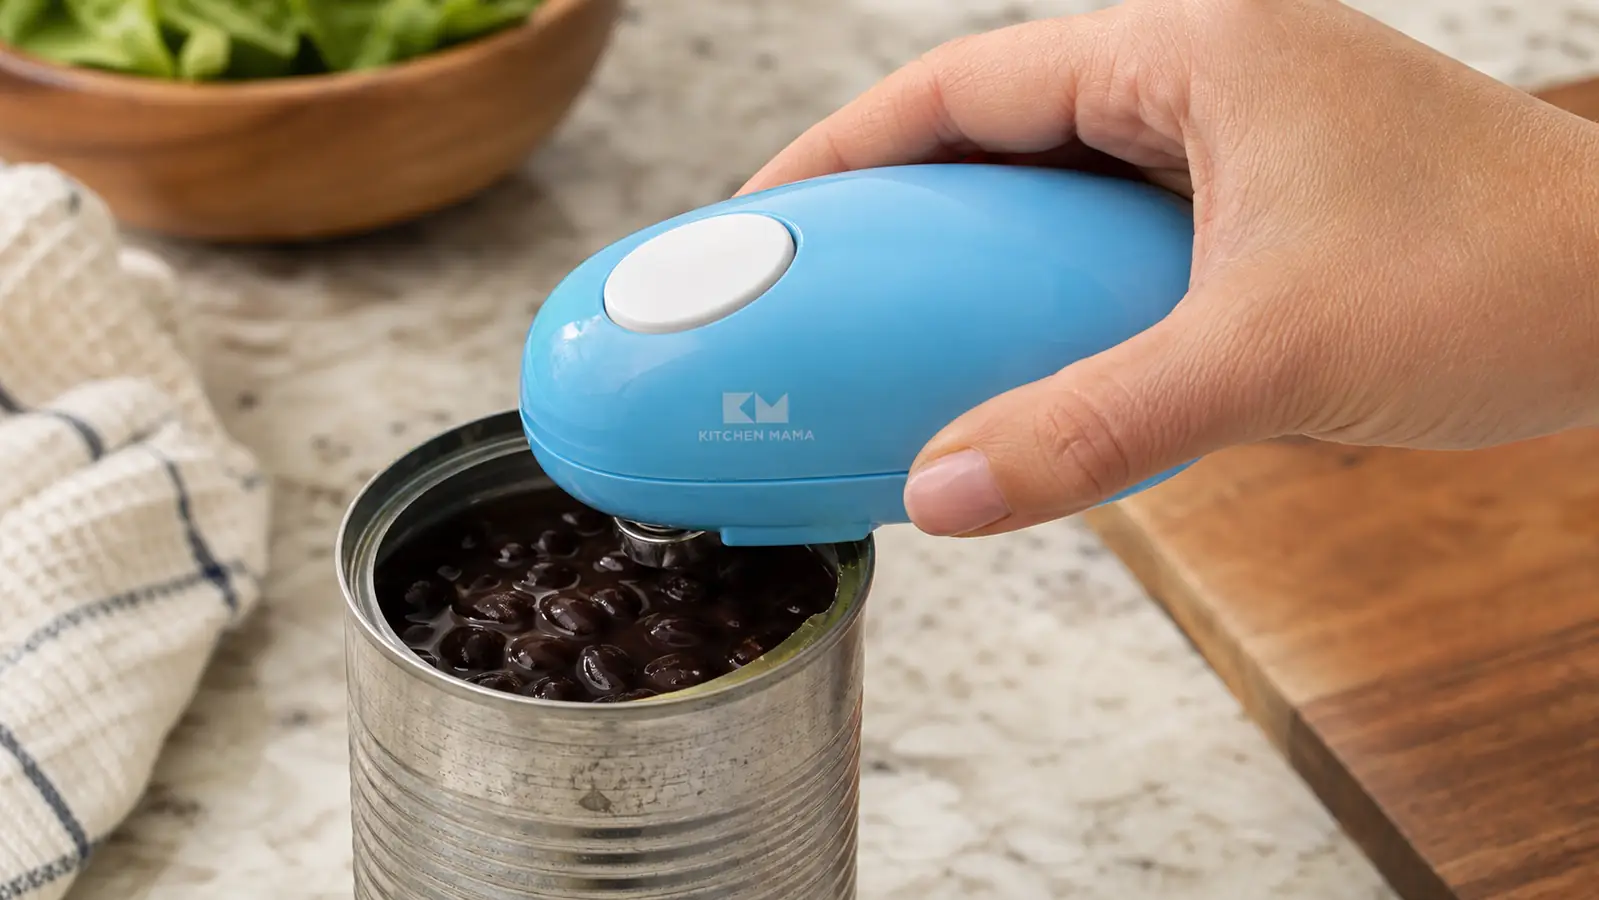
This is the exact opener I use in the steps below. It clamps onto the rim, cuts the lid clean off, and leaves a smooth edge with no crank arm and no wrist strain.
Amazon Check Today's Price on Amazon →Step 1: Match the tool to how you actually cook, not how you think you cook
Before any of the steps below matter, be honest about how many cans move through your kitchen in a normal week. If it's one or two, a decent manual opener and a little practice will get you fast enough. If it's five, six, or more, especially on nights when you're also chopping vegetables or watching a pot, the bottleneck isn't your technique, it's that a manual opener needs both hands and your full attention for the whole thirty seconds it takes.
An automatic opener changes that math because it works while your hands are free to do something else. You set it on the rim, press one button, and it rotates on its own until it beeps. That gap, the fifteen or so seconds where you're not holding anything, is where the actual time savings come from. I've written a longer year-long review of this exact opener if you want the full breakdown of how it's held up, but for this guide, just know the speed comes from freeing your hands, not from the cutting mechanism being magically faster.
There's also a cost side to this decision worth being honest about. A manual opener is cheap to replace and never needs batteries, so if your kitchen budget is tight and you only open a handful of cans a week, that simplicity has real value. What tips the decision for most people isn't price, it's frequency and grip strength. If cans are a near-daily part of your cooking, or if anyone in the house has arthritis, a healing wrist, or just gets tired of the crank motion, the time and strain the automatic opener saves adds up fast enough to justify the switch.
Step 2: Stage your cans and your counter before you touch the opener
Most of the wasted time in a can-heavy recipe isn't the opening itself, it's the walking back and forth to the pantry mid-recipe because you forgot you needed a second can of tomatoes. Pull every can the recipe calls for and set them in a row on the counter before you open the first one. Wipe the tops if they've been sitting in a dusty pantry, since grit on the rim can catch the cutting wheel and leave a rougher edge.
Set a bowl or colander next to the row for anything that needs draining, and clear a small patch of counter for the empty cans and lids. This sounds like a small thing, but it's the difference between a smooth five-can sequence and stopping every time to figure out where the last lid went. I keep a folded towel under the opener's spot too, since a can that's slightly overfilled can drip when the clamp presses down.
Staging is also the moment to prep whatever the cans are going into. If the recipe calls for draining and rinsing beans, get the colander in the sink now instead of after the first can is already open and dripping on the counter. If you're building a soup base, have the pot on low heat and the aromatics already softened, so the moment a can is open you're pouring straight in rather than setting it down to go find a spoon. The opener saves you time in fifteen-second chunks, and staging is what keeps you from spending those chunks standing around instead of cooking.
Step 3: Clamp it dead center the first time
This is the step people rush and then wonder why the cut looks uneven. Set the can flat on a stable surface, center the Kitchen Mama's clamp on the rim so the cutting wheel sits right on the seam where the lid meets the can body, and press down gently until it locks. If the clamp feels like it's biting into the side of the can instead of the rim, stop and reposition before you press the start button.
Dented cans are the one place this step actually takes patience. If a can has a ding right where the clamp needs to sit, rotate the can slightly so the clamp lands on an undamaged section of the rim instead of forcing it over the dent. It takes an extra five seconds and it's the difference between a clean cut and the opener stalling halfway around. For a closer look at how this opener specifically handles dented and odd-shaped cans compared to a standard crank, the manual-versus-electric comparison covers that in more detail.
Step 4: String cans together for batch nights
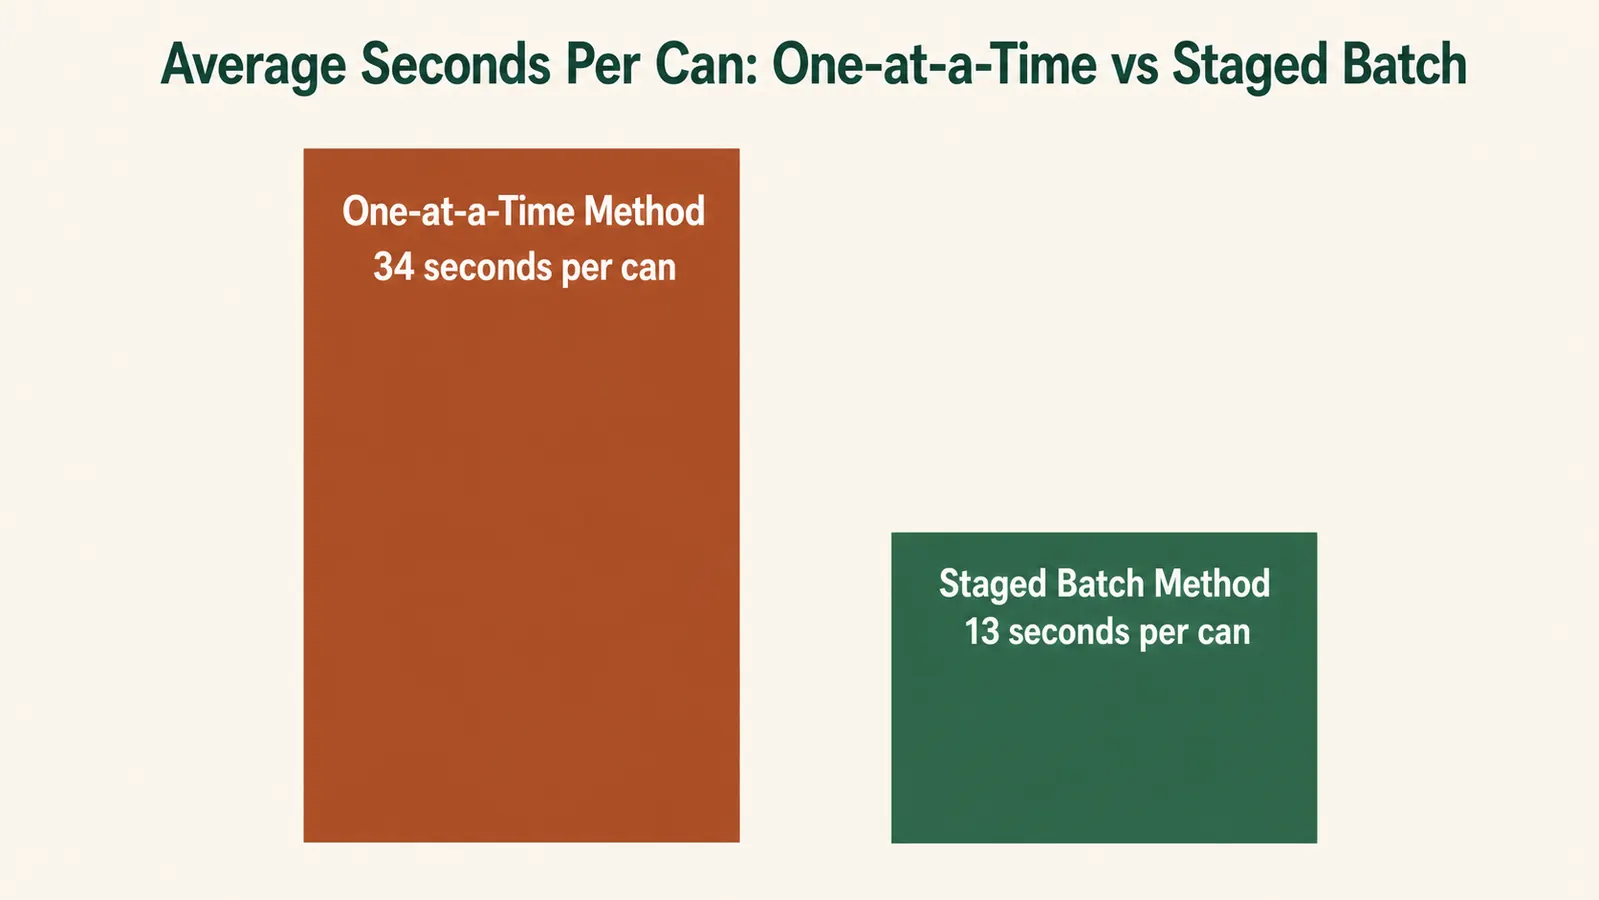
The real speed advantage shows up when you're opening more than two or three cans in one sitting, which is exactly when a manual opener wears you down the most. Once the automatic opener is clamped and running on the first can, don't stand and watch it. Use those fifteen seconds to pull the next can into position, or stir whatever's already on the stove, or start draining the can before it.
For a chili or soup night with five or six cans, this staggered rhythm is where the time savings really add up. Clamp, press, move to the next task, come back when it beeps, pour or drain, repeat. It stops feeling like a chore you're doing in between cooking and starts feeling like a background task the kitchen is handling for you. The chart below shows the rough difference this staging makes over a batch of cans compared to stopping fully for each one.
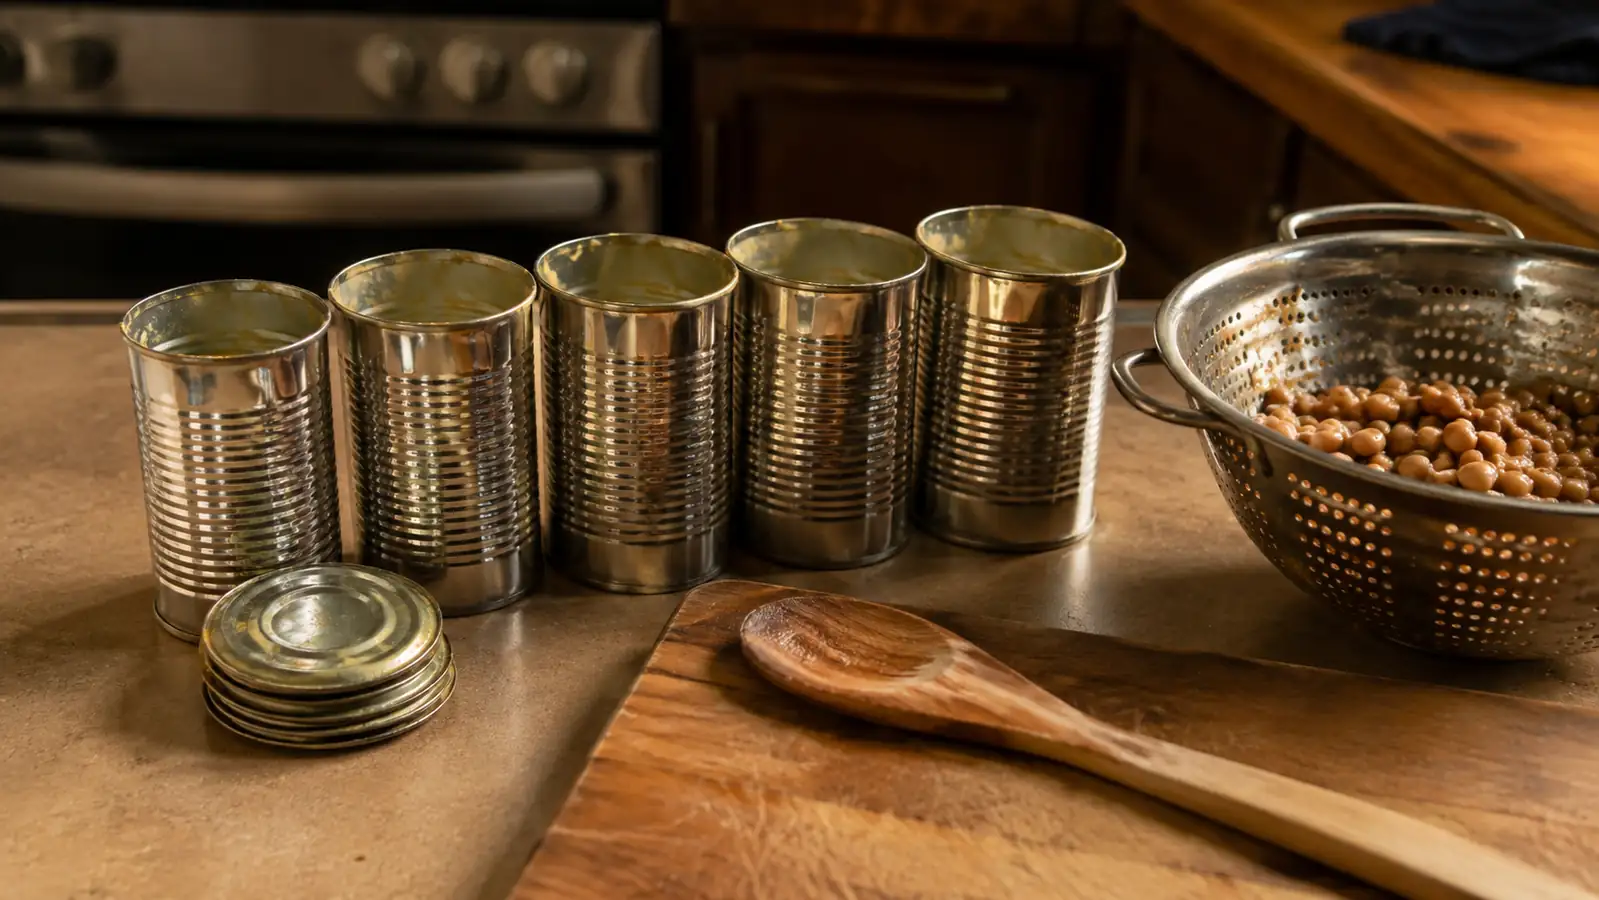
This same rhythm is where the opener pays off most on freezer-meal or big-batch cooking days, the kind where you're opening a dozen or more cans across two or three recipes at once. Line the empty cans up by recipe as you go, rinse the lids and set them aside for recycling in one pass at the end rather than after every single can, and let the fifteen-second gaps stack the way they're meant to. On a normal weeknight the savings are nice. On a batch-cooking Sunday, they're the difference between an hour of prep and closer to forty minutes.
Step 5: Keep it somewhere your hands go, not somewhere it looks tidy
An automatic opener that lives in the back of a deep drawer under the mixing bowls will get used exactly as often as the manual one it replaced, which is to say less than you planned. Speed depends on the opener being within reach the moment you grab the first can. I keep the Kitchen Mama on the counter near where I stage groceries, not because it's decorative, but because pulling it out and putting it away adds thirty seconds back onto every single use, which erases most of the time you just saved.
If counter space is tight, a shelf or a shallow bin just inside a cabinet door works almost as well, as long as it's a one-motion reach and not a dig-through-the-drawer search. Keep a spare set of batteries in that same spot too. Running out mid-recipe and hunting for AAAs in a junk drawer is the single fastest way to undo the whole point of switching to a hands-free opener.
Build a simple maintenance habit around where you store it, too. Once a week, or after a heavy batch-cooking day, wipe the clamp and cutting wheel area down and check that the magnet, if your model has one, is still holding lids cleanly instead of dropping them. A five-second check like this once a week is what keeps the opener working at full speed instead of slowly getting sticky and unreliable, which is usually when people give up on it and go back to a manual opener out of frustration.
What Else Helps
A couple of small habits make this whole sequence smoother without adding any real time. Rinse the cutting wheel area under warm water right after a session instead of letting bean residue dry on it, since dried food is what eventually slows the clamp mechanism down. Keep the opener's base dry and away from the sink edge, since the motor and gears inside aren't dishwasher safe even though the exterior wipes clean easily. And if you cook in big batches regularly, a second set of charged batteries staged next to the opener means you're never stopped mid-recipe waiting on a swap.
Odd-shaped cans deserve a quick mention too. Short, squat cans like tuna or small tomato paste tins, and very tall cans like some coconut milk brands, don't always sit as evenly under the clamp as a standard soup or bean can. Give those a slower, more deliberate placement rather than rushing the clamp on, and if it doesn't seat evenly after two tries, it's faster to finish that one can with a manual opener than to keep fighting the automatic one. Knowing when to skip the tool for a single awkward can is part of actually being fast, not a failure of the method.
The speed was never in the cutting wheel. It was in getting my hands back thirty seconds sooner, five times a night.
None of this requires the Kitchen Mama to be perfect. It just needs to be fast enough, and predictable enough, that you stop thinking about it and start treating it like any other appliance that does its one job while you move on to the next thing.
Ready to stop cranking through a five-can chili night
This is the opener the steps above are built around. Hands-free clamp, one button, and a smooth edge that doesn't need a second pass with a spoon.
Amazon Check Today's Price on Amazon →