
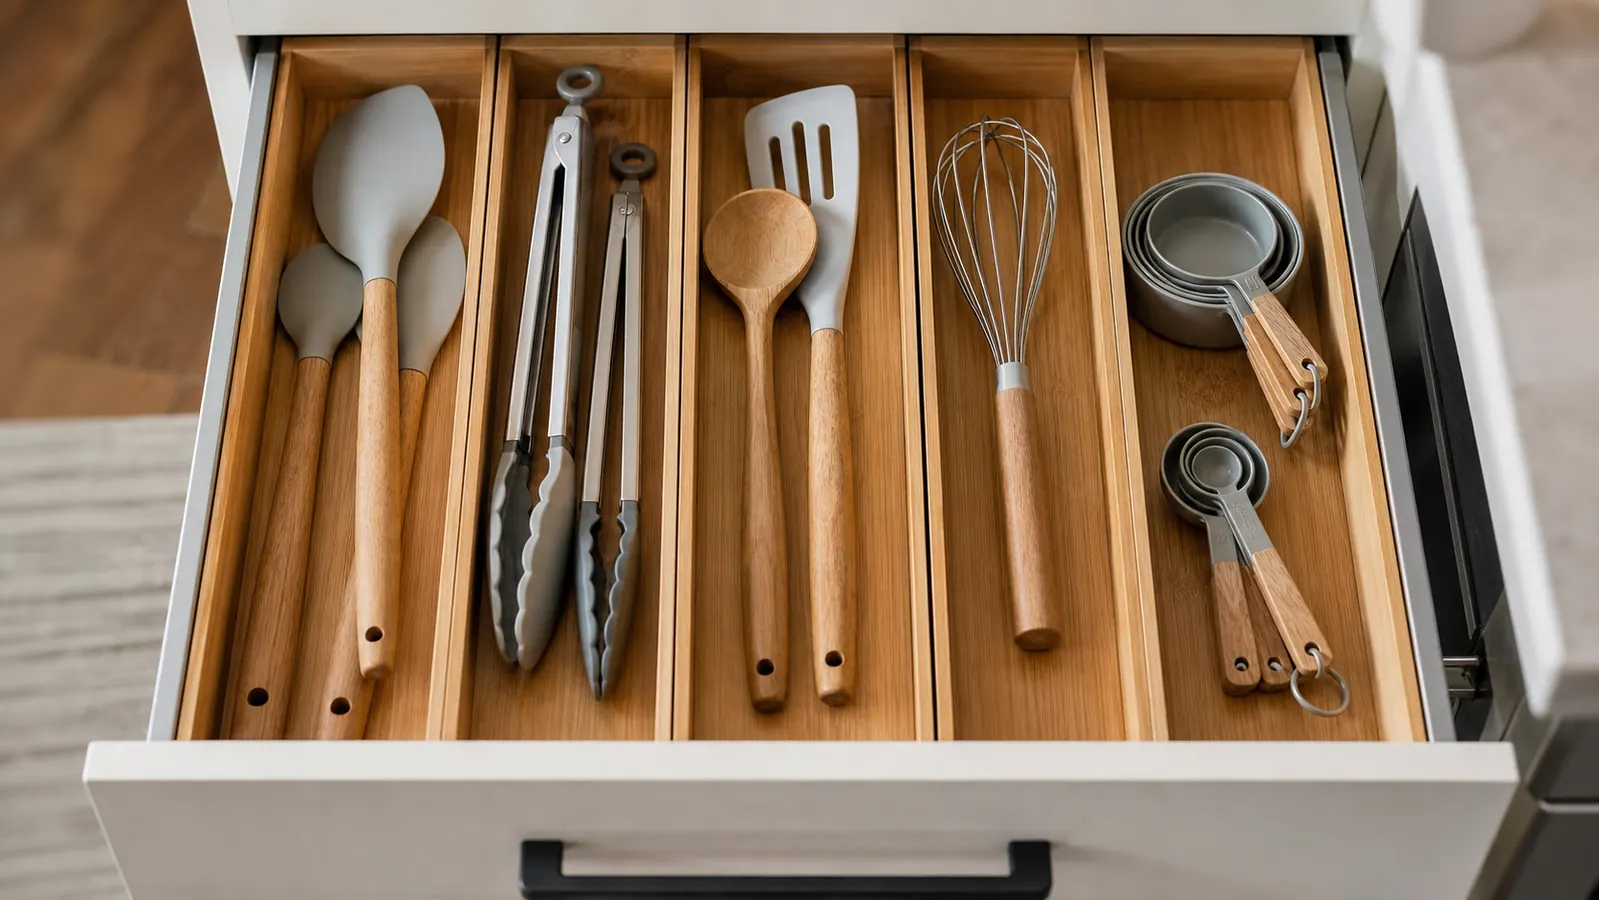
A drawer that will not close is a design problem, not a stubbornness problem, and I did not understand that for longer than I would like to admit. My utensil drawer, the one between the stove and the sink, has always caught about three-quarters shut, jammed by whatever spatula or tongs handle drifted sideways when I pushed it in too fast. I rearranged things by hand a dozen times over a dozen months. It worked for about a day, every time. Then I put the Pipishell Bamboo Expandable Drawer Organizer into that same drawer and the problem stopped being a daily negotiation. This is the process I used to get there, step by step, so you can skip the year of shoving things around that I did not need to spend.
Before you buy anything, it helps to know what is actually broken. Most drawers that will not close are not too small, they are just unorganized in a way that lets tools drift into the track the drawer slides on, or stack on top of each other until the front cannot seat flush against the cabinet face. An organizer fixes that by giving every tool a lane it cannot wander out of. But which organizer you pick, how you size it, and how you load it matters more than the simple fact that you bought one. Here is how to do it properly, in an order that actually holds up.
Stop Refereeing a Drawer That Will Not Close
If you are done shoving the same spatula back into place every night, the Pipishell Bamboo Expandable Drawer Organizer is the tool built for exactly this problem. Check today's price on Amazon before you start measuring, so you know what range you are working with.
Amazon Check Today's Price on Amazon →Step 1: Measure the Drawer, Not the Advertised Size
Grab a tape measure before you look at any organizer listing. You need three numbers: the inside width of the drawer opening measured side to side, not the outer cabinet frame, the inside depth measured front to back, and the inside height, since some drawers are shallower than they look once you account for the runners along the bottom. My drawer measured 21 inches wide by 16 inches deep, which is a fairly standard mid-size run, but I have measured drawers as narrow as 15 inches in older houses and as wide as 24 inches in newer builds. Write the numbers down. Do not eyeball it from across the kitchen and assume medium will fit.
This step is the one people skip, and it is the reason so many organizer complaints online are really about a product being too big or too small when the real issue is nobody measured first. The Pipishell organizer expands within a range instead of being one fixed size, which is the whole point of buying an adjustable one instead of a molded plastic tray, but expansion only helps you if you already know the two numbers it needs to land between.
Cabinet drawers built on newer soft-close hardware often have slightly more usable depth than older drawers on plain metal runners, because the soft-close mechanism sits underneath rather than eating into the sides. If your kitchen was renovated in the last decade, measure anyway, do not assume newer automatically means deeper. And if your drawer has a divider or center rail built into the cabinet itself, note exactly where it sits, since that rail will dictate where you can and cannot lock an expansion joint.
Step 2: Empty It and Sort Into Three Piles
Take everything out of the drawer and lay it on the counter. Not in a rush, actually spread it out so you can see all of it at once. You will typically end up with three piles: things you use most days, like the main spatula, the tongs, and the good ladle, things you use occasionally, like the turkey baster or the extra whisk, and things that do not belong in this drawer at all, like the twist ties, the loose rubber bands, or a takeout menu that has been in there since spring.
Be honest about pile three. A drawer that will not close is almost never actually short on organizer capacity, it is carrying overflow from a few other categories of clutter that got shoved in because it was the nearest open space. Move that pile somewhere else, even a shoebox in a different cabinet, before you organize what is left. You are not solving the drawer problem if you organize twenty items into a set of lanes built for twelve.
This is also the moment to deal with duplicates. Most drawers end up with two or three versions of the same tool, a spatula that melted a little on one edge, a whisk you keep meaning to replace, a can opener you no longer trust. Keep the one you would actually grab first and let the rest go, even if that means donating a perfectly fine tool. An organizer works best with one home per tool, not overflow of the same thing competing for the same lane.
Step 3: Match the Expansion Range to Your Drawer, Then Set the Lanes
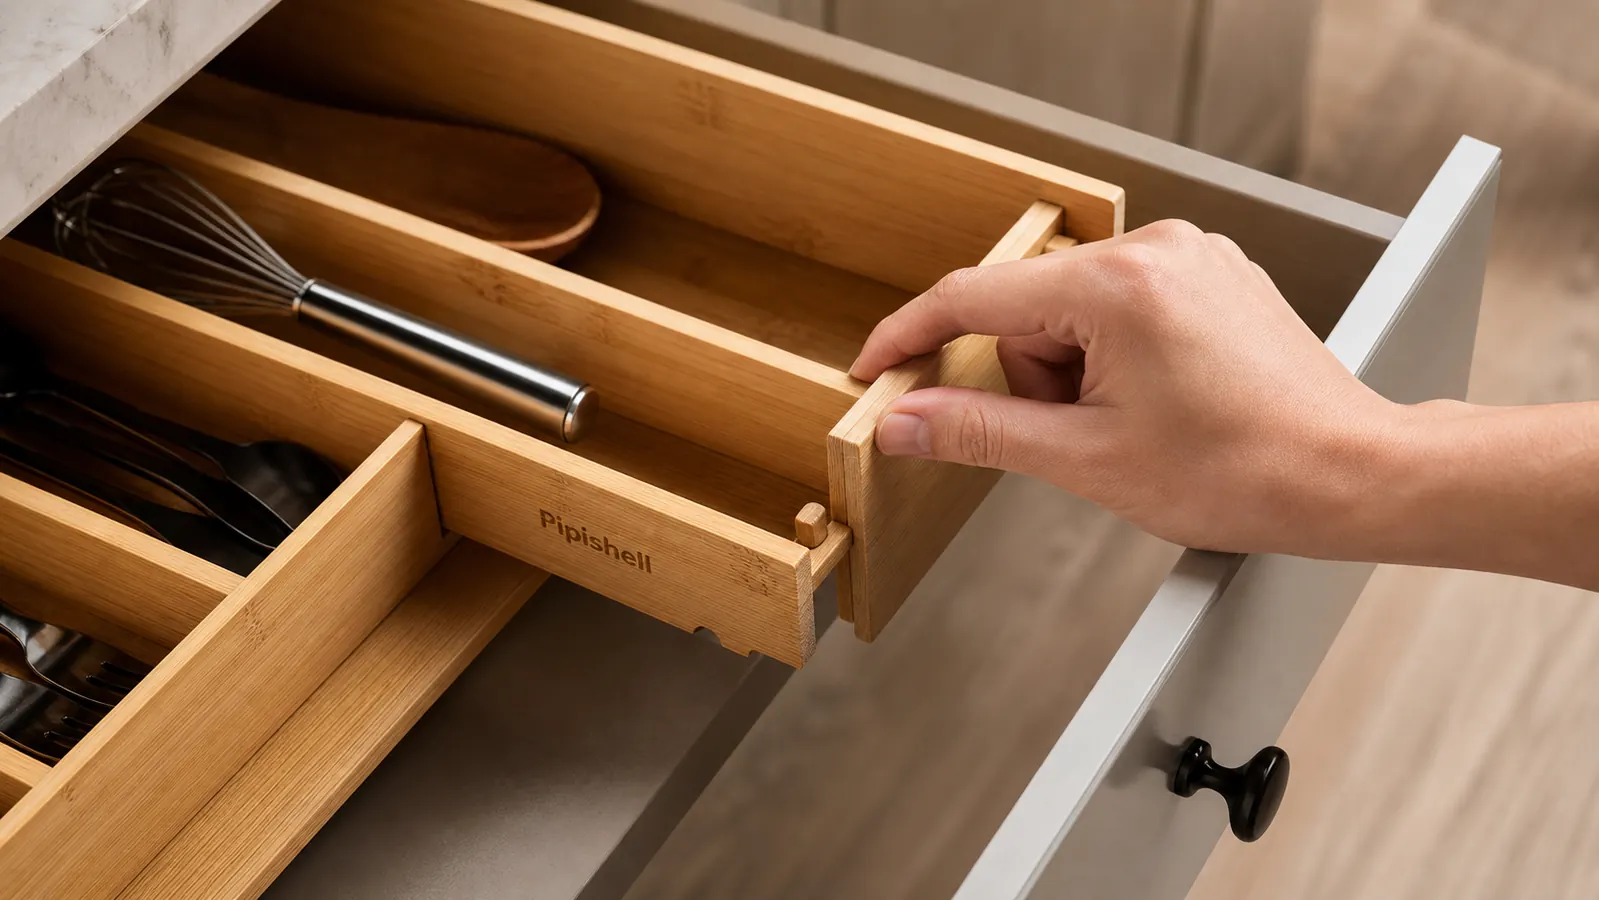
Now match your measured dimensions from Step 1 to the organizer's stated expansion range, and decide your lanes before you install it, not after. The bamboo slats slide and lock at intervals, so plan ahead: one wide lane for anything with a long handle, a few narrow lanes for smaller flat tools like peelers and can openers, and at least one deeper compartment if you are storing anything with bulk, like a meat thermometer case or measuring spoons still on the ring.
I made the mistake the first time of locking every lane the exact same width, which looked tidy on day one and stopped working by week two once things did not fit their assigned slot. Give your most-used tools a slightly wider lane than you think they need. Things get put back faster when there is a little slack, and a drawer only stays organized long-term if putting things away is as easy as pulling them out. You can compare this expandable approach against a fixed molded plastic tray if you are still deciding which style fits your drawer better.
If your drawer depth runs on the shallow side, under about two and a half inches inside, skip any lane you were planning for tall bottles or canisters and keep those in a cabinet instead. Forcing tall items into a shallow lane is how organizers end up with a lid or a lip caught on the drawer track, which brings back the exact closing problem you started with in the first place.
Step 4: Lock It In and Test the Fit Before You Load Anything
Slide the Pipishell into the empty drawer dry, meaning without anything loaded into it yet, and check that it sits flush against all four sides with no rocking. If it rocks, you are either one notch too narrow or too wide, and it is far easier to fix that now than after every lane is full. Lock the expansion pegs only once the fit is snug but not forced, since forcing a bamboo organizer into a drawer that is slightly too narrow puts pressure on the joints that eventually shows up as a warp.
Close the empty drawer a few times before loading anything into it. You are checking that the organizer's height clears the drawer's front lip and that nothing catches on the runners underneath. This takes thirty seconds and saves you from discovering a fit problem later with a full drawer, which is a much more annoying repack to deal with.
Once the dry fit is confirmed, do a quick weight test before final loading: place your three or four heaviest tools into their lanes and open and close the drawer five or six times. You are checking that the added weight does not shift the organizer even slightly out of its locked position. If it holds through five or six cycles, it will hold under normal daily use for years, not just the first week.
Step 5: Load by How Often You Reach for It, Not by Category
Load the front lanes, the ones closest to you when the drawer opens, with whatever you reach for on a normal weeknight. For most home cooks that is a spatula, tongs, a loose paring knife if you keep one there, and a can opener. Everything you use two or three times a week or less goes toward the back.
This sounds obvious written out, but most people load a drawer organizer by category instead, grouping all the spoon-shaped things together regardless of how often they get used, and then wonder why the drawer still feels cluttered even though everything technically has a slot. Frequency, not category, is what keeps a drawer easy to close, because it is what keeps you from digging around for the one thing buried at the back.
Plan on a five-minute re-sort every season or so, not because the system fails, but because what you reach for changes. Grilling tools move to the front in summer, a turkey baster earns front-row space in November. Treat the layout as adjustable rather than permanent and it stays useful instead of becoming just another thing you set up once and then ignore for the next three years.
What Else Helps
A good organizer solves the shifting and jamming problem, but it will not fix a drawer that is genuinely overstuffed for its size. If you did the sort in Step 2 honestly and you are still cramming, the answer is not a bigger organizer, it is accepting that a second drawer or a countertop crock needs to take the overflow. I keep my everyday tongs and spatula in a crock next to the stove now, which took pressure off the drawer entirely and made the organizer's job easier. Wipe the bamboo down with a barely damp cloth rather than soaking it, and let it air dry fully before closing the drawer, since trapped moisture against wood in a closed space is how organizers start to smell musty after a few months. If you want the longer view on how this holds up, I wrote a separate year-long review of this same organizer covering wear and cleaning in more detail.
It also helps to line the bottom of the drawer before you install anything. A thin rubber shelf liner keeps the Pipishell from sliding side to side over months of daily use, which is really just a slower version of the same jamming problem you set out to fix. It costs almost nothing, takes about two minutes, and it is the kind of step people skip because it feels optional until the organizer starts drifting six months in.
A drawer stays organized when putting things back is exactly as easy as pulling them out, not before.
Do This Once and Stop Refereeing the Drawer
Measure, sort, lock, and load, in that order, and the drawer stops fighting you. Check today's price on the Pipishell Bamboo Expandable Drawer Organizer and get the sizing right the first time.
Amazon Check Today's Price on Amazon →